Beyond 9-5: Bringing Leather Back To Life

This article originally appeared in the September/October 2017 issue of Eventing USA magazine.
Shopping for tack and equipment when you’re on a budget can be tricky, especially if you like higher end things. Sometimes you come across exactly the right secondhand saddle, or girth, or bridle, or pair of boots, except that maybe it looks a little too “used” to still be show quality. Or maybe you already own the perfect equipment, but that dressage saddle is looking a bit faded, or that breastplate has never been exactly the right color, or those tall boots just look rubbed and worn. Don’t pull out the credit card just yet. With a little bit of DIY you can fix all of those things, and it’s a whole lot easier than you might think. Trust me on this one, because I’m as far from crafty as one person can possibly get and even I’ve managed to do it successfully on several occasions.
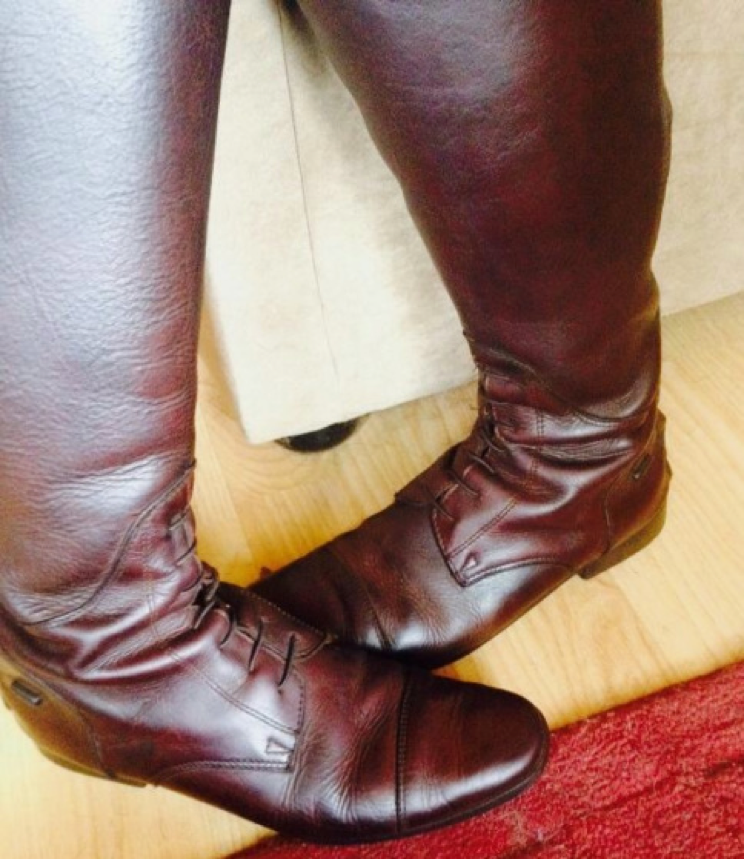
When I first starting meandering down the road of dyeing leather, my first victim was a pair of brown tall boots that had been rubbed and faded, so the color was a bit uneven and they were a lighter tone than I preferred. I’ve been dyeing breeches for years, but leather was a new medium for me. After a little bit of google research, some Amazon Prime shopping for supplies, and a couple of adult beverages, I decided to take the plunge. The result? Gorgeous tall boots that had a second lease on life and lasted me two more years. I was surprised at just how simple it was.
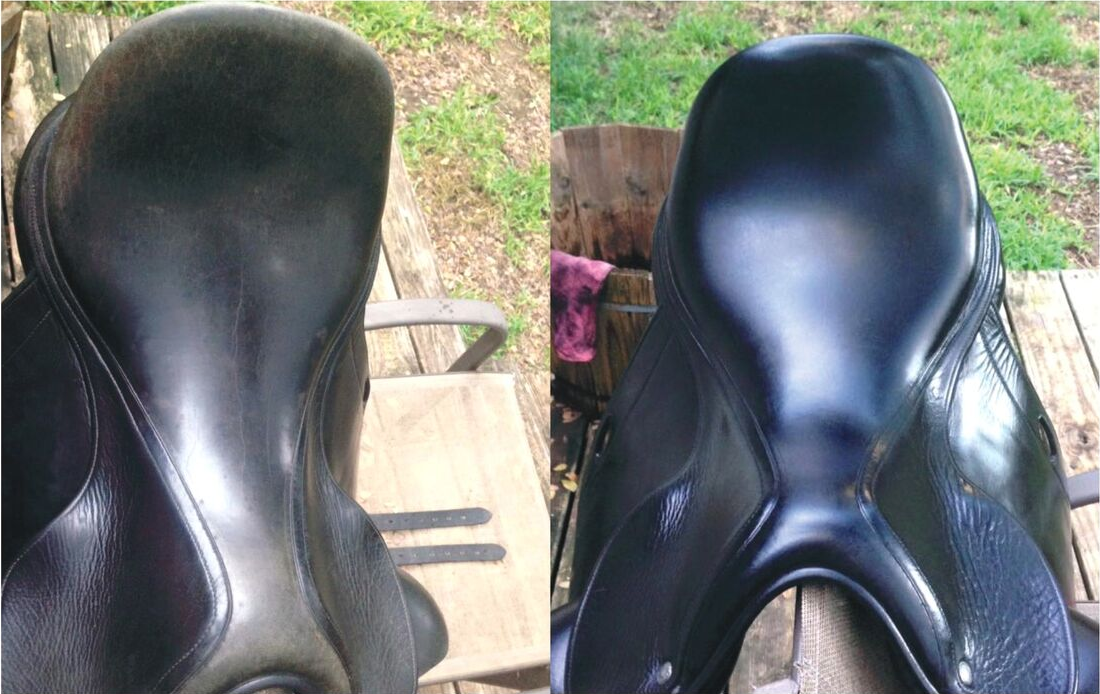
Fast forward to a little while later and I was shopping for a new dressage saddle. Only problem? My butt and my horse like them French, and my wallet likes them synthetic. My budget was pretty low, so I kept trying to compromise on what I really wanted, with little success. Finally one day I saw the perfect saddle, in my budget, but it had obviously seen better days. Structurally it was pristine, but it had faded to a pretty ugly green and was covered in mold spots. Feeling a little bit of confidence after the boot dyeing experiment, I decided to take the plunge on the saddle and see if I could dye it back to show quality.
The saddle was a harder project, of course, but it came out absolutely beautiful in the end. After that I did a girth, another saddle, a breastplate, and so on and so on. Once I knew how to dye leather, a whole world of possibilities opened up. I helped other people dye their tack too, and they were just as surprised as I was about how simple the process is and how great the results can be. For someone who is on a budget, it can be a particularly useful skill to have.
Dyeing a Saddle
So, dear readers, I thought I would share my method here with you. The following is the process I used for the dressage saddle, so you can vary the method a bit depending on what you’re dyeing, but the general idea and step-by-step is the same. Disclaimer: I’m not saying this is the best or the only process to follow, but this is what I did, with excellent results over the years. When in doubt, Google . . . there is a TON of information out there about dyeing leather.
The first step is to thoroughly clean the saddle, or whatever it is you’re dyeing. After it’s dry, it’s time for the deglazer. I wet the rag with deglazer and started rubbing (like you mean it!) in circles all over the surface. This removes the sealant and any other gunk from the leather. Without this step the dye won’t penetrate the leather very well, so while scary to rub what is essentially fingernail polish remover all over your saddle, it’s important. Just take another chug of your adult beverage, you’ll be fine. The leather will start to look a bit ashy and dull – this is what you want to see all over, uniformly.
Once you’ve removed the top coat (you should be able to tell once it’s gone, the saddle will look very matte and thirsty all over), let it dry thoroughly. Take a few more chugs of that adult beverage, pull on your gloves, grab your brushes and start applying the dye. It was a little bit of trial and error for me to figure out which method I liked the most, but by the third and final coat I decided that I preferred to get some dye on the brush (not much, you don’t want it running all over the place), paint it onto the saddle, and then rub it in with a rag. That made the color very even and it absorbed into the leather well. I did one area of the saddle at a time – the seat, then the back and panels, then each skirt, then each flap. To make sure I got into all the little cracks and crevices I used a toothbrush. By applying the dye in sections, it helped keep everything “under control” a bit better. You don’t need a lot of a dye to get the job done – I used less than half of a 4 ounce bottle with three light coats.
Between each coat I let the saddle dry for about an hour, and after all three coats were applied I left it to dry overnight. The next day I took a clean rag and rubbed (in circles, circles are your friend throughout this entire process) all over the saddle to help lift off excess dye. Then I got out my Tan-Kote, poured some onto a rag, and started putting on a top finish. Some people only use Tan-Kote, some people only use Resolene, but the results that I found online that I liked the most used both, therefore I used both on my dressage saddle as well (it’s also good to note that Resolene is water resistant and Tan-Kote is not, so think of Tan-Kote as more of a finish versus Resolene as more of a sealant). Tan-Kote is resin-based and feels sticky as you’re applying it. Don’t worry, just keep rubbing it on in a thin, even layer. As it dries the stickiness will go away.
Once the Tan-Kote dried, I again buffed the saddle with a clean rag. At this point very little dye was leeching onto the rag, but there was still a bit. With my brown jump saddle, I left it like this and just kept rubbing the saddle down with a rag. For the black dressage saddle (and boots and girth), I added Resolene. I applied this stuff the same way, although it was very runny and watery compared to the Tan-Kote. When you first rub the Resolene onto the leather it leaves a white-ish blue film that is semi-alarming, but it quickly turns clear as it dries. For me this was the only kind of tricky step, because if you didn’t get the Resolene fairly even, you could tell as it dried. It wasn’t difficult, you just had to pay attention and not glob it all over the place like a Kindergartner with fingerpaint (OK, maybe you should back off on the adult beverages by the time you get to this point). For that reason I opted to do three very thin layers, allowing it to dry between each one. I also recommend doing it in an area where you have really good light (direct sunlight is best) so you can clearly see what you’re doing. Once it was dry I buffed it again, put on a light coat of lederbalsam, and voila – all done!

The most common question I get when people hear about this is “but does the dye leech onto your breeches?” Short answer: not if you use Resolene. Like I said before, Resolene is a sealant, so that’s what provides this barrier. Important to note – once you seal the leather with Resolene, the pores will no longer take oil. If you want to still be able to use oil on the saddle, stick with the Tan-Kote but expect a little bit of dye leech in the beginning. It’s something to be aware of while weighing the pros and cons of each type of finish, but in the end it really comes down to personal preference. Once you’ve sealed it with Resolene, you’re really only going to be able to condition with lederbalsam and other similar conditioning products (which is typical of any kind of sealed leather, such as Sedgwick, or most non-calfskin dressage saddles). My own personal rule of thumb is that I do only Tan-Kote on calfskin, and add Resolene to everything else. Your preference may vary.
So, what can you expect the dye to do?
- Darken. Just like hair, you can’t put dye on a dark product and expect it to change to a lighter color. You can change light brown into dark brown, you can change brown to black, and you can change faded black to true black. If you’re looking to make a fun color, you have to start with something very light or white. Yes, you can change that white padding on your old dressage bridle into any darn color you choose (no, I’m not kidding, you really can), or you can change light colored piping to a different color. Just make sure it’s real leather first.
- Help even out fading. While putting a new coat of dye won’t completely get rid of all the uneven wear or blotchiness on a saddle or a pair of boots, it can definitely greatly improve it. If you have something lying around to practice on, give it a whirl! I think you’ll be surprised with how easy it is and how good the results can be. And next time you think it’s time for new boots, or you come across that perfect-but-faded saddle for a great price, you’ll be able to save yourself some money by breathing new life into that well-loved equipment.
Dyeing Supplies
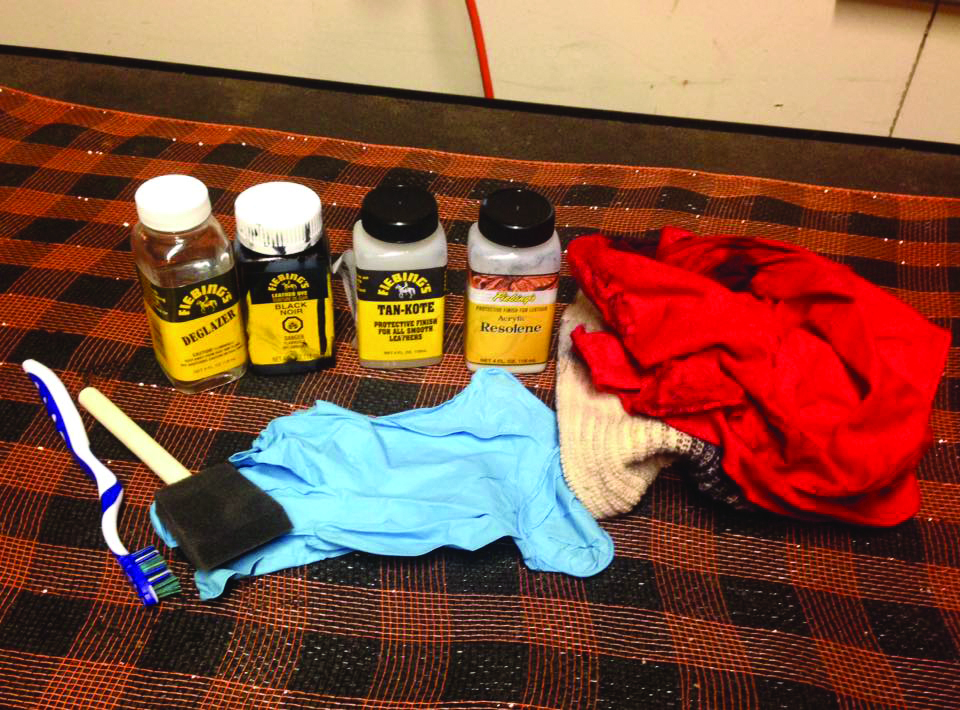
I bought all of these products from Amazon for $35 with free shipping, and a few I already had lying around. Not a bad investment.
- Deglazer (which I’m pretty sure is just acetone but I’m not taking any chances with getting the wrong thing)
- Leather Dye
- Some kind of finish, like Tan-Kote or Resolene (or both)
- Brushes (I used foam, but microfiber or a regular paint brush would work too)
- Rags (tons of them – the microfiber ones from the dollar store work great)
- Latex gloves
- Toothbrush
- Your adult beverage of choice (or two, I won’t judge)
You also need a workspace where a) it won’t matter if you splash dye around b) you won’t get any kind of debris sticking to the wet dye. For my projects I’ve alternated between the garage and the backyard on a non-windy day.
Did you enjoy this article? Want to receive Eventing USA straight to your mailbox? Members receive Eventing USA as part of their USEA Membership or you can purchase individual issues from Shop USEA.
Related Articles
Balancing Medicine, Horses, and Homebreds with Lucinda Romero
For decades, Dr. Lucinda Romero spent her days as a general and vascular surgeon caring for patients, but before dawn and after long shifts, she was raising Irish Draught horses, riding, and quietly building a breeding program at her home base in California.

Irene Doo Champions ShowConnect at Crossgate Equestrian Center in Area V
Irene Doo is no stranger to the eventing community. She has been competing in the sport for more than 20 years in Area V, primarily at the Pine Hill Horse Trials in Bellville, Texas, where she quickly fell in love with volunteering as well. After helping in just about every role the event had to ...
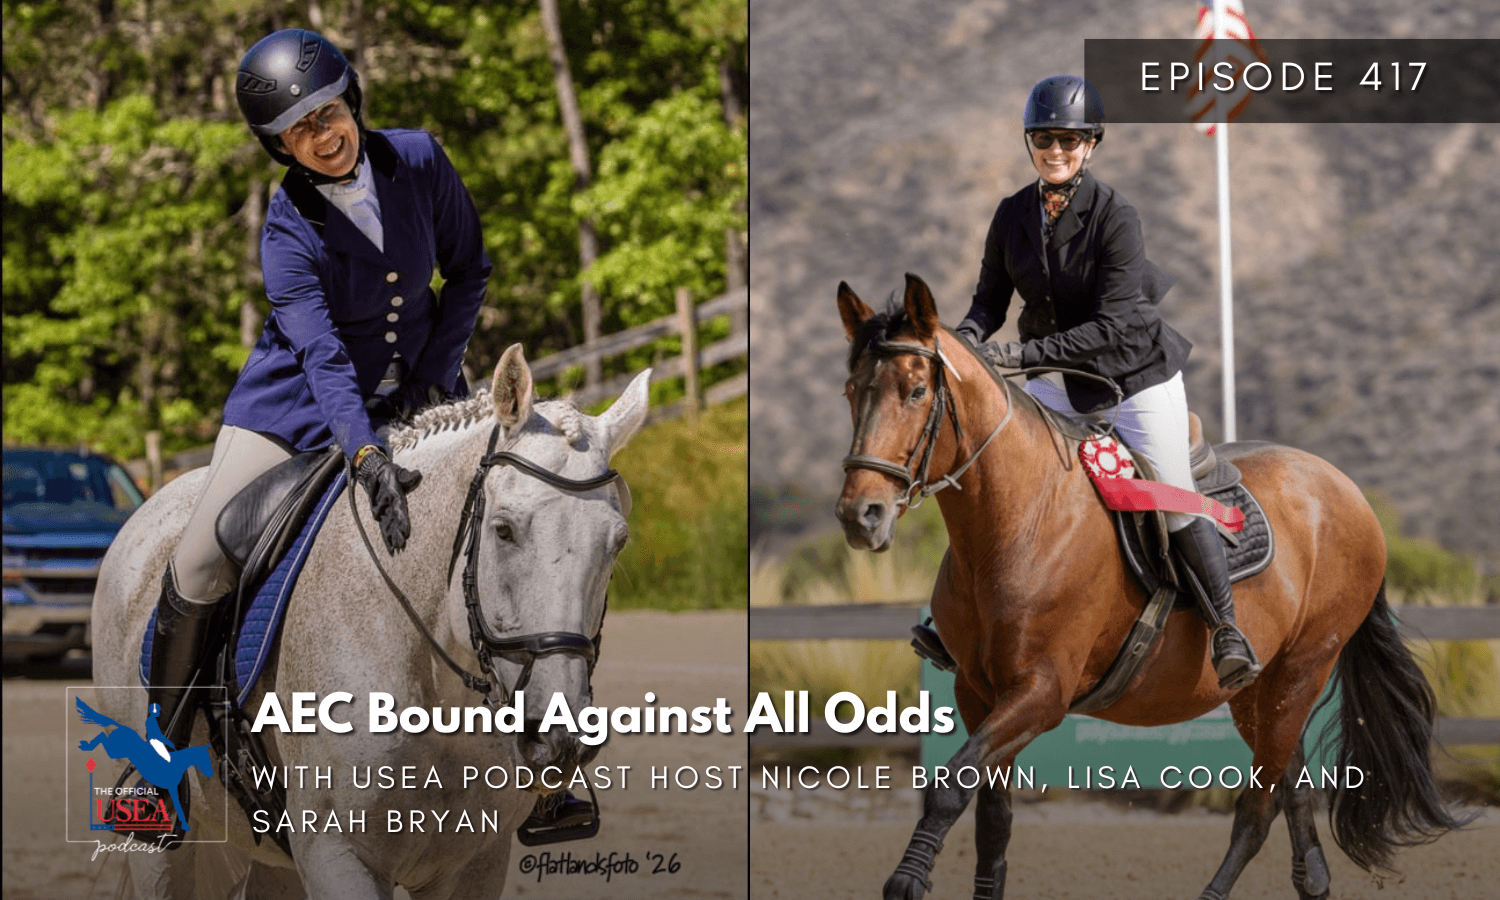
USEA Podcast #417: AEC Bound Against All Odds
The road to the USEA American Eventing Championships looks different for every rider, and this episode celebrates two unforgettable journeys.