Sitting In with Jacqueline Brooks at the 2014 ICP Ocala Symposium
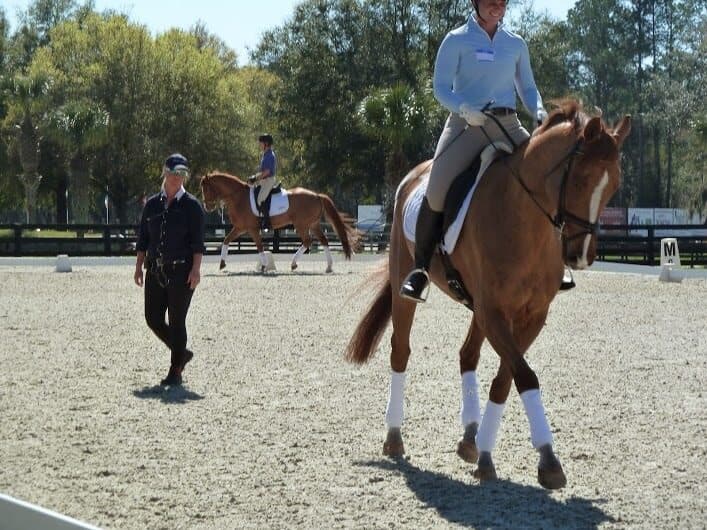
Canadian international dressage rider Jacqueline Brooks kindly agreed to wedge a 2014 Instructors’ Certification Program (ICP) Ocala Symposium teaching day into her fully-packed calendar of teaching and competing in Wellington, Florida. Her sharp focus, the consistency of her instruction, and her ability to draw in both audience members and Training through Advanced riders distinguished her performance as she invited those riders to implement her practices at Betsy Watkins’ Longwood Farm South on the first day of the Symposium.
Position and Aids
Like all good riders and instructors, Jacquie attended first to position and aids: “hang your legs dead straight”; “hold your hands as though you are holding guns” (pistols); “plug in your two seat bones and sit in on them.” Invisibly alternate your weight aids at the walk and the sitting trot so that you sit evenly left, right, left, right over each seat bone as your horse steps symmetrically forward with each hind leg. Use your own legs so that they are on, off, or neutral, depending upon what you are asking of the horse.
From your first steps of movement, ride your horse so that you feel each hind leg land under your elbow on that side. Maintain that: develop and feel your horse’s equal push from each leg. The beauty of following this advice is that it focuses you on the position and power of your horse’s hind legs, “your hands stop talking” to the horse, and your upper body carriage improves. Also, “drive your own shins into your calves,” producing the good effects of maintaining your lower leg under your body with a low enough heel.
Order your aids this way: first seat, then leg, then rein. For example, use mostly or only your weight aid to turn your horse by turning your belt in the desired direction, without collapsing the inside of your body. Arc your horse’s body from tail to nose over the track line, and ride each stride with the idea of the next stride. Turn your horse’s head and neck so that his poll remains above his nose; in other words, avoid titling his head by moving his nose more than his poll. Imagine a turned head position where the horse’s inside eye looks more at the dirt and his outside eye looks more at the sky, without tilting.
Consider your horse’s back as a bridge from his withers to his croup. Sit in the middle of this bridge rather than too close to the shoulders. Invite your horse to accept an adhesive, deep enough seat that rises and falls with your horse’s backbone, a seat which can then be used to connect and collect your horse by raising his shoulders and lowering his quarters.
Finally, clarify and select in your mind and body the position and aids you will use for each movement, and then ride with those positions and aids—and only those—each time you ask for each respective movement. Do not produce extraneous noise with your body/aids that might distract or confuse your horse. This is your language of communication with him. The result of training this way is your horse will learn the meaning of your positions/aids and he will react appropriately to them, without having to “think” first, Jacquie noted.
Thought-provoking to those present who focus especially on dressage training were those of Jacquie’s directives that differ from some of the directives found currently in the German dressage system as described by the German National Equestrian Federation (GNEF). Examples of Jacquie’s teaching discussed below will include some of those directives, as well as many others of hers which are in common with the German school.
Rider Weight in the Directional and Bending Seats
As mentioned above, alternately, evenly, and invisibly, the rider lightly weights each seat bone at the walk and the sitting trot in coordination with the horse’s hind leg step on the same side. When riding the canter, the shoulderfore1 , and the shoulder-in, Jacquie advised riders to lightly weight the outside seat bone in what we could call the directional seat. In the canter, Jacquie advised riding with the inside leg on the girth and with the outside leg riding the horse up to the rider’s outside elbow to keep the horse’s alignment on the line of travel. A basis for lightly weighting the outside is, as Jacquie mentioned, the biomechanical tendency of the horse to move his other hind leg under and toward the midline of his body in the direction of his rider-weighted side—which is, in fact, just what you want in the shoulder-fore and shoulder-in.
That same biomechanical tendency justifies the rider’s lightly weighting her inside seat bone, and thus the inside of the horse, when the rider asks the horse for the bend in the lateral movements which track in the direction of that bend, movements like travers, renvers, and half-pass. Let us call that the bending seat. In those lateral movements, we want our horse’s outside hind to track under and toward the midline of his body in the direction of his travel, which he will tend to do when we weight the inside of the bend toward which he is moving. According to these rider-weight directives, in the sequence shoulder-in left to renvers right, you maintain your weight over the right side in both movements. Sitting there could improve the quality of your horse’s transition. Try it!
1 Shoulder-fore, a three-track movement: “…the horse steps with its inside hind leg between the tracks of the forelegs, while its outside hind leg follows in the track of the outside foreleg.” p. 39. Advanced Techniques of Dressage Book 2.
Throughout the day, Jacquie often used travers at all three gaits to supple, energize, and better connect the horse. At the canter, that meant subtly shifting the seat bone weight from the outside to the inside seat bone for the travers. Important for improving the travers and its bending, Jacquie focused several riders on riding the outside hind leg to their outside elbow in order to put their horses better to the aids. This advice led also to better straightness of the horse’s neck and shoulders on the track.
Establishing the Deep-Enough Seat in the Bridge
Jacquie’s how-to for developing the deeper seat was clearest as she worked with a couple of riders on Thoroughbreds and with a rider on a somewhat tense horse. The Thoroughbred back is usually longer than the back of most Warmbloods, she said, so finding the middle of the bridge with the seat can be more difficult. With a tense horse, the back is too tight for the horse to readily accept a deep seat.
One purpose of the deep seat is to aid the rider in connecting and collecting the horse as the rider rocks him back over his haunches, raising and lightening his shoulders. “Self-carriage is the key for Thoroughbreds,” Jacquie said. She asked one woman to ride her Thoroughbred’s outside heel to her outside elbow at the trot to “take that weight back onto his hocks. Flex his spine up and down in the middle of the bridge. Don’t sit too far forward toward his shoulders.”
With the other Thoroughbred rider in canter right, Jacquie requested, “Pick up your horse’s neck as though it’s a big fish so that the horse stays connected from your calf. Use your shin-into-calf to lift the horse’s shoulders, and lift every stride in the canter.” In other words, Jacquie combined the deeper seat with the other aids needed for these horses to move with rhythm, looseness (losgelassenheit), and connection toward impulsion, straightness, and collection.
With the tense horse, Jacquie worked through a number of movements, despite his initial tightness. She asked the rider to rock him back in the left canter, then travers with a higher neck and with the rider’s seat shifted slightly back, therefore more in the middle of the bridge. Then, “kick his belly up so the bridge is higher.” Ride at trot in travers with as little pulling as possible. “Sit down in each stride in the middle of his back and help him to allow you to be there.” Jacquie asked the rider to “sit behind the horse’s neck when he’s moving straight and beside his neck when in travers.” Also, “Give the rein away in the short ends to lighten and show him off there and also to invite him to relax through his body.” At the end of each work segment, she had the rider walk in a small circle on a long rein, turning the horse using rider weight and asking him to walk with four even beats and not on the toes of his hind feet. Additional longer, lower neck work will soften and stretch the muscles over the horse’s back so that he can lift his back up into the rider’s seat with his back and abdominal muscles.
With Three Different Horses, Cultivating the Relationship of Balance and Impulsion
Jacquie believes that impulsion should be treated respectfully, especially in competition situations, because the balance, suppleness, attention, and connection that you have established in warming your horse up can be compromised by the unpredictability of adding in more impulsion.
With one horse who was initially quite tense and resistant, Jacquie advised, “Take a little impulsion out for a few seconds. Get him to let you in to his lower back. Ask for half-steps with weight on his hind legs and without a lot of impulsion. Now, offer a little self-carriage by lifting his poll a bit and allowing him to go forward. Get him to let you flex his back down in the middle. Don’t let him pick his croup up and put you down on his withers. Slow trot right on a small circle, a little in shoulder-in, and then go forward and back in shoulder-in. Then, add trot lengthening on the diagonal. Work through your aids to make them stronger than his brain causes him to be.” Here, Jacquie was handling impulsion very carefully as she worked first with the rider to gain the horse’s attention and compliance before adding in the lengthening’s impulsion. With a horse who was already listening, even then Jacquie showed her respect for impulsion. With this horse in left canter, Jacquie asked for more compression via the rider’s rocking back using shin-to-calf to elbows. “Take the shins back without changing the location of your feet. Shorten his steps, flex left, tap him on his hips for more pressure of his hips to your elbows. Set up in this corner for more impulsion now in a lengthening, holding it on your elbows.” Then, “Trot right, shin-to-calf; travers along the wall, and keep your elbows. Your swing is good! For more impulsion, tap his hips toward your elbows. Then, keep his chest up,…sit right in travers right, and halfpass. How much impulsion can you dare ask for? Let’s see! In left half-pass, turn up the volume! Then leave him up there in collected trot.”
As the rider rode through the short end in that collected trot, Jacquie asked for an extension on the diagonal, an extension which she afterwards described as “very consistent, light, swinging.” In this case, the rider and her horse were enough in sync for the rider to ask for and get the engagement and impulsion for an extension with the balance well maintained throughout.
With a third horse whose balance was already confirmed, Jacquie asked the rider to tap the horse after a trot lengthening “to carry more impulsion into the balance” of the subsequent shoulder-in. With this horse, Jacquie believed the rider could confidently make good use of impulsion to improve the balance, cadence, and expression of his shoulder-in!
The Flying Change
As any rider knows who has spent even just a few moments researching the subject, there are myriad of track patterns, positions/aids, and timing moments recommended by various dressage professionals for teaching a rider and horse how to perform a clean flying change. So, let’s look first at the method Jacquie recommended.
For the initial education of rider and horse in the flying change, Jacquie uses the counter canter on a 20-meter circle to true canter on the circle. The rider counter canters with her weight over that lead’s outside seat bone and tips in toward the center of the circle; half-halt on the new outside rein and sit over the new outside seat bone when asking for the change with your legs, without pulling the horse’s shoulders down. Be sure to adhere to the circle track; a horse who steps out and away from the track is evading the flying change request. So, cantering right in a left lead counter canter, the rider’s weight is initially over the right side. During and after the change, the weight is shifted to the left side for the right lead true canter. Don’t get out of the tack during a change: maintain your connection through the reins, and continue to press the horse’s hips and hind legs up to your elbows.
Jacquie “read” each horse’s changes to identify what each rider could do to better assure a clean change. With one rider, she emphasized using the new outside leg slightly farther back and combining that with a tap of the whip on the outside. With another, she asked the rider to “tap-tap-tap him under from behind, shoulders out in front” before asking for the change. With a third, she emphasized not switching the horse’s neck so much to the inside for the new lead because that can block his new inside shoulder.
Now, here is the method for teaching the flying change as described by Frenchman Philippe Karl in his most recent book, Twisted Truths of Modern Dressage: A search for a classical alternative (page 116). Although this method uses true to counter canter on a circle instead of Jacquie’s counter canter to true canter, it does ask the rider to sit on the new outside of the horse when making the change, as does Jacquie’s method. Visualize tracking right on a circle.
“On a large circle, start cantering on the inside (right) leg. …counterbend the horse’s neck using a neck-rein with the outside (left) rein, weight the inside (right) seat and bring the horse’s shoulders to the inside… Go back to walk in this situation. Immediately change the position of the legs with the inside (right) leg pushing the haunches to the outside and the outside (left) leg acting at the girth to ask the horse to canter on the outside (left) leg in the renvers position on the circle. Back to walk and reward.
“Repeat this sequence on both reins until the horse totally understands it without hesitation or tension. The horse therefore feels the balance that is useful for flying changes as well as the inversion of the aids, set up one after the other in a calm situation. It already does a virtual flying change.
“Now, repeat the sequence. Use the same procedure but without going back to walk. Canter on the circle. Change the bend. Outside (left) neck-rein. Weight the inside (right) seat. Change the legs with a predominant action of the inside (right) leg. The horse knows what is coming next: renvers in canter—but this now implies that it changes leg and also that it does it behind first…. The horse…has been put in a position and balance that naturally imply a flying change led by the hind legs.”
Finally, here are the words about the flying change from the GNEF’s Advanced Techniques of Dressage, pages 56 and 57. You will see that no change of rider upper body is described, while reference is made to the placement of the rider’s hips in each lead, with the inside hip in front of the outside hip.
“The rider prepares the horse (for the flying change) through the use of half-halts:
- The aids for the flying change are given just before the moment of suspension; the rider’s upper body remains still and in the same position;
- The ‘old’ outside, ‘guarding’ leg slides forward to the girth, while the old inside leg is placed in a ‘guarding’ position behind the girth. If the rider is sitting in balance and is supple and loose, when the leg positions are changed over the new inside hip will automatically be pushed forward;
- The horse is flexed slightly in the new direction just before the change; the new inside rein must yield slightly, to allow the inside hind leg to come through; at the same time, however, the rider should keep a light contact with the horse’s mouth. Note: Certain preconditions must be met before the horse can be started on flying changes, namely it should be proficient, connected, and ‘through’ in collected canter, counter canter, and transitions between different forms of the canter, on both reins.”
Both riders and audience members were impressed by Jacquie’s effective and spirited words about how to ride well. Her emphasis upon connecting the horse’s hind legs to the rider’s elbows, upon the “plugged-in” seat bones and their influence in communicating with and moving the horse, upon the relationship between balance and impulsion, upon the deep enough seat and its use, upon analyzing each horse in the moment to determine how to ride his next steps were excellent. Here’s to you, Jacquie! We thank you.
German National Equestrian Federation, trans. Christina Belton, The Principles of Riding – Book 1. 2000, Kenilworth Press, GB.
German National Equestrian Federation, trans. Christina Belton, Advanced Techniques of Dressage – Book 2. 2000, Kenilworth Press, GB.
Philippe Karl, Twisted Truths of Modern Dressage, A search for a classical alternative. 2012, Cadmos Publishing Limited, Richmond, UK.
Be on the lookout for Sue's sequel article on the jumping segment of the clinic, taught by Aaron Vale.
Related Articles
USEA Foundation Sponsors New Emergency Response Training Video Series for the Equestrian Community
The United States Eventing Association (USEA) Foundation is excited to share that The Game Plan: Emergency Response in Equestrian Sports, a new free educational video series designed to improve emergency preparedness and response in both eventing and throughout the equestrian community, ...
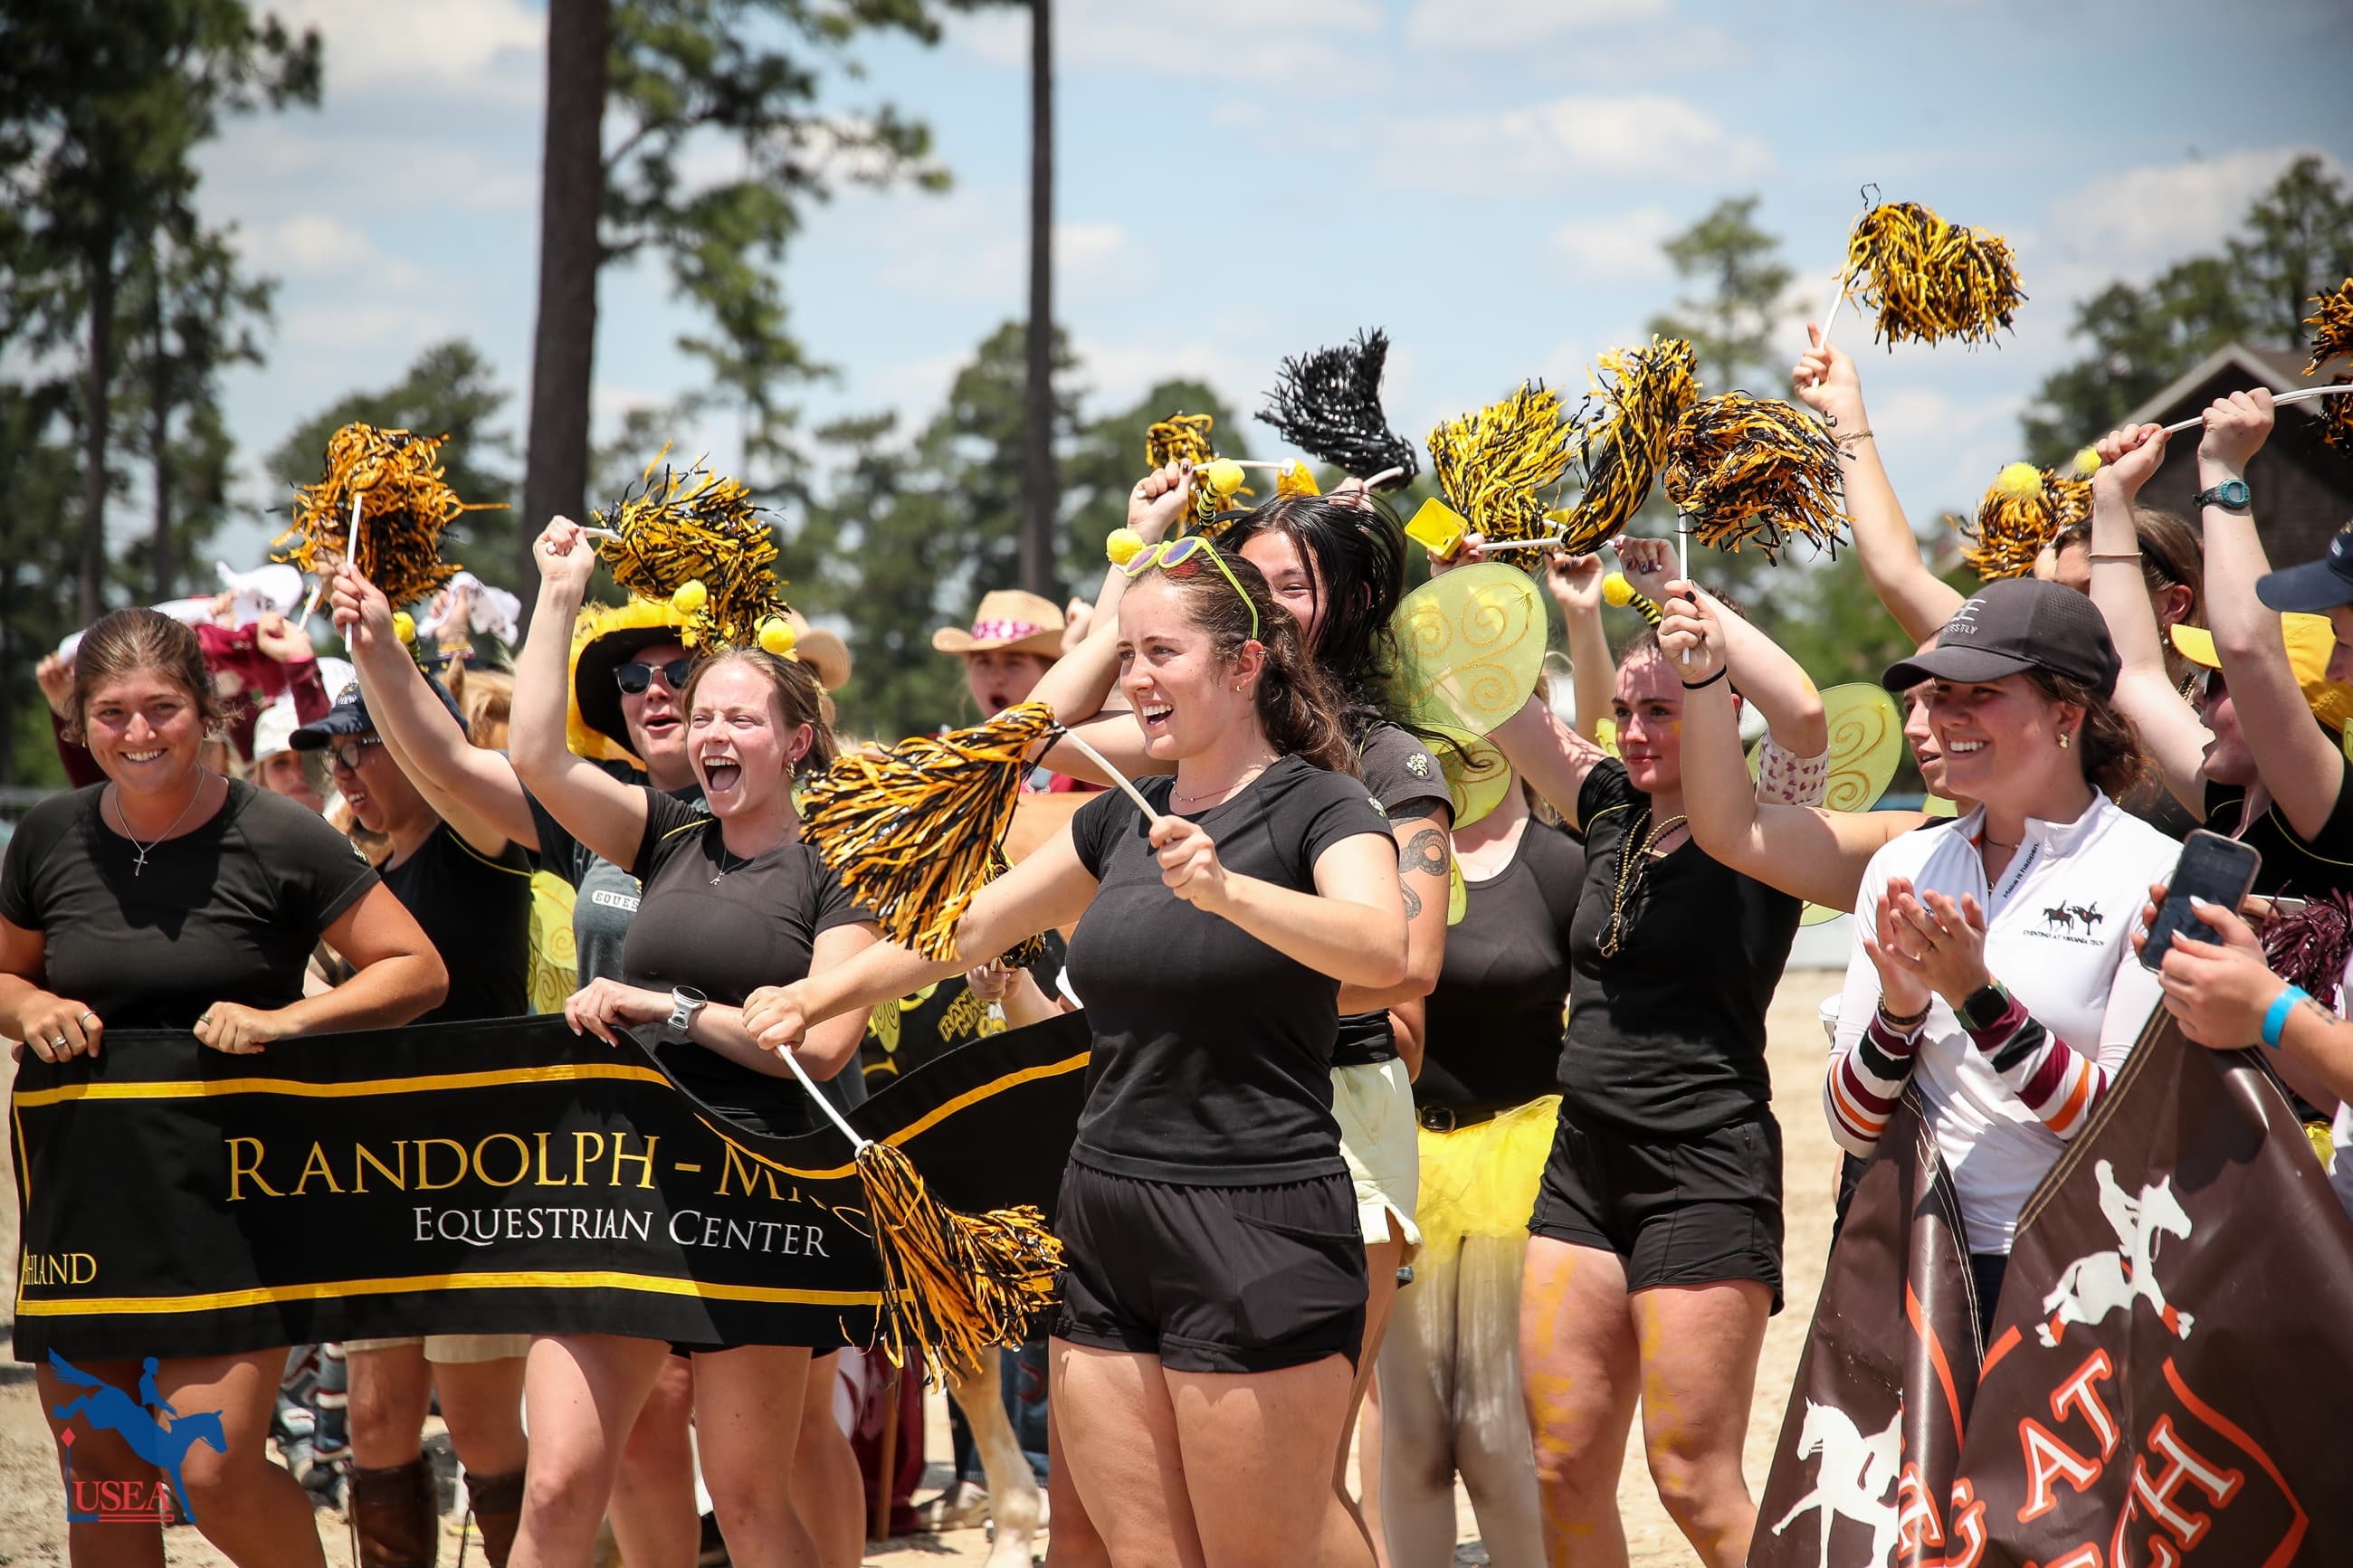
More Than a Team: How Randolph-Macon College Built a Home for Eventers
When students arrive at Randolph-Macon College in Ashland, Virginia, they're joining more than just a USEA Intercollegiate Eventing Team. They're stepping into a community that begins welcoming riders before classes even start and continues supporting them long after graduation.
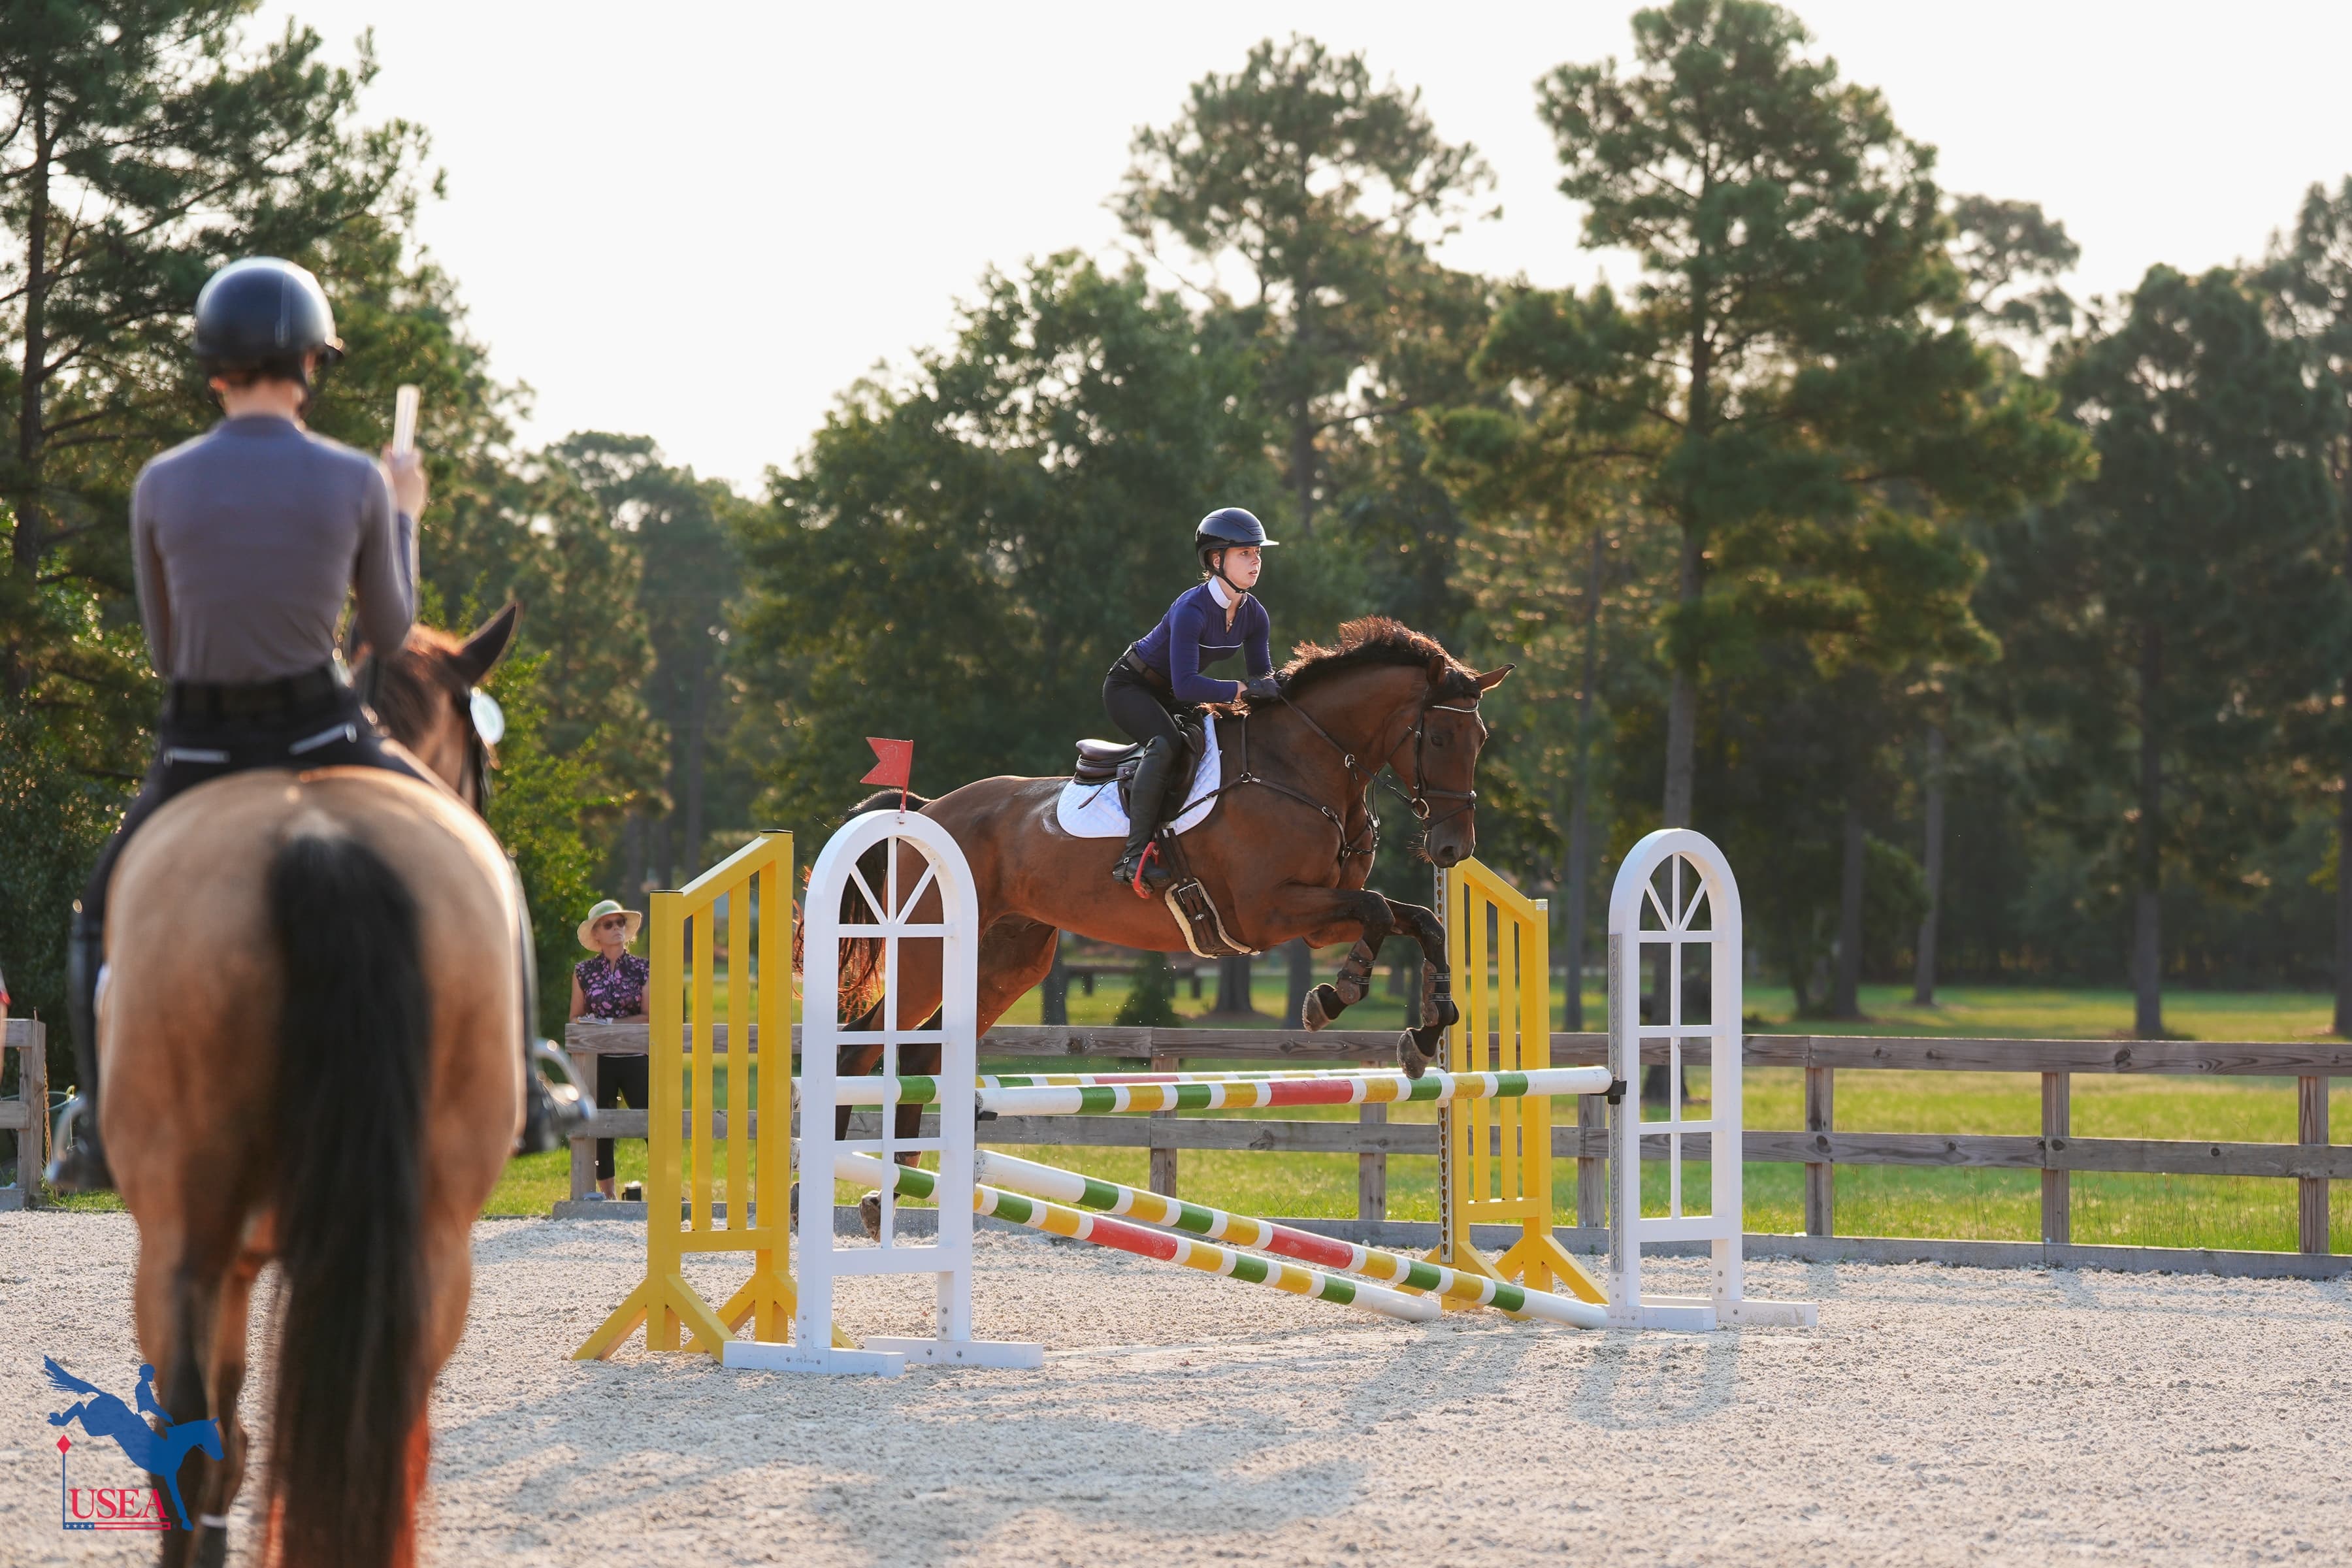
On Your Aids is Smooth, and Smooth is Fast: Day 2 at the USEA EA21 East II Clinic
If you spend enough time in the saddle, somewhere along the way you’ll likely hear the saying: “Slow is smooth, smooth is fast.” On Day 2 of the USEA Eventing Athletes Under 21 (EA21) East II Clinic, coach Emily Mastervich amended the turn of phrase to say: “A horse on your aids is smooth, and sm...